壓縮包安裝方式
1、下載httpd-2.4.29.tar.gz?
2、上傳到服務器/usr/local/software
tar?-zxvf?httpd-2.4.29.tar.gz ./configure?--prefix=/usr/local/apache2/?#?設置apache安裝目錄
若沒有安裝過Apr,會報錯:
checking?for?APR...?no configure:?error:?APR?not?found.??Please?read?the?documentation.
3、接下來安裝apr,首先下載apr-1.6.3.tar.gz?
4、上傳到服務器/usr/local/software
tar?-zxvf?apr-1.6.3.tar.gz cd?apr-1.6.3 .configure make make?install
又會報錯:
checking?for?APR-util...?no configure:?error:?APR-util?not?found.??Please?read?the?documentation.
5、下載apr-util-1.6.1.tar.gz?
6、上傳到服務器/usr/local/software
tar?-zxvf?apr-util-1.6.1.tar.gz cd?apr-util-1.6.1 ./configure?--prefix=/usr/local/apr-util/?--with-apr=/usr/local/apr
此時還會報錯:
xml/apr_xml.c:35:19:?致命錯誤:expat.h:沒有那個文件或目錄 ?#include?<expat.h> ???????????????????^ 編譯中斷。 make:?***?[xml/apr_xml.lo]?錯誤?1</expat.h>
7、猜測是可能缺expat的開發庫
yum?install?expat-devel?#?中間會讓你輸入y ./configure?--prefix=/usr/local/apr-util/?--with-apr=/usr/local/apr make?#?成功! make?install
8、此時再回去安裝apache,不僅要指定apr的路徑,還要指定apr-util的路徑
./configure?--prefix=/usr/local/apache2/??--with-apr=/usr/local/apr/?--with-apr-util=/usr/local/apr-util/
依舊報錯,不少人到這里可能已經崩潰了,但這個錯誤跟前面遇到的類似
checking?for?pcre-config...?false configure:?error:?pcre-config?for?libpcre?not?found.?PCRE?is?required?and?available?from?http://pcre.org/
9、下載pcre-8.41.tar.gz?
10、上傳到服務器/usr/local/software
tar?-zxvf?pcre-8.41.tar.gz ./configure
又再次報錯,我保證這是最后一次了
checking?windows.h?usability...?no checking?windows.h?presence...?no checking?for?windows.h...?no configure:?error:?You?need?a?C++?compiler?for?C++?support.
10、安裝c++環境
yum?install?-y?gcc?gcc-c++ #?錯了那么多次,別忘了現在的位置,接下來還是要安裝pcre ./configure make make?install
11、好了,繞了一大圈,接下來還是要安裝apache
cd?.. cd?apache ./configure?--prefix=/usr/local/apache2/??--with-apr=/usr/local/apr/?--with-apr-util=/usr/local/apr-util/ make make?install
好慘啊!最后一步又報錯:
/usr/local/apr-util//lib/libaprutil-1.so:?undefined?reference?to?`XML_GetErrorCode'?? /usr/local/apr-util//lib/libaprutil-1.so:?undefined?reference?to?`XML_SetEntityDeclHandler'?? /usr/local/apr-util//lib/libaprutil-1.so:?undefined?reference?to?`XML_ParserCre collect2:?error:?ld?returned?1?exit?status make[2]:?***?[htpasswd]?錯誤?1 make[2]:?Leaving?directory?`/usr/local/software/apache/support' make[1]:?***?[all-recursive]?錯誤?1 make[1]:?Leaving?directory?`/usr/local/software/apache/support'
這種報錯沒見過,果斷網上搜索一番,答案即是:apr版本太高;?
12、于是我下載了apr-util-1.5 http://archive.apache.org/dist/apr/apr-util-1.5.2.tar.gz?
13、上傳到服務器/usr/local/software
tar?-zxvf?apr-util-1.5.2.tar.gz cd?apr-util-1.5.2 ./configure?--prefix=/usr/local/apr-util-1.5/?--with-apr=/usr/local/apr make make?install
14、重復步驟11,唯一不同的地方就是現在配置指定的是:apr-util-1.5,這很重要!!!
cd?.. cd?apache ./configure?--prefix=/usr/local/apache2/??--with-apr=/usr/local/apr/?--with-apr-util=/usr/local/apr-util-1.5/ make?#?make時間會比較長 make?install
完美結尾:
Installing?configuration?files mkdir?/usr/local/apache2/conf mkdir?/usr/local/apache2/conf/extra mkdir?/usr/local/apache2/conf/original mkdir?/usr/local/apache2/conf/original/extra Installing?HTML?documents mkdir?/usr/local/apache2/htdocs Installing?error?documents mkdir?/usr/local/apache2/error Installing?icons mkdir?/usr/local/apache2/icons mkdir?/usr/local/apache2/logs Installing?CGIs mkdir?/usr/local/apache2/cgi-bin Installing?header?files mkdir?/usr/local/apache2/include Installing?build?system?files mkdir?/usr/local/apache2/build Installing?man?pages?and?online?manual mkdir?/usr/local/apache2/man mkdir?/usr/local/apache2/man/man1 mkdir?/usr/local/apache2/man/man8 mkdir?/usr/local/apache2/manual make[1]:?Leaving?directory?`/usr/local/software/apache'
15、進入配置文件位置:/usr/local/apache2/conf
cp?httpd.conf?httpd.conf.bak????#?備份配置文件 vim?httpd.conf #?放掉191行的注釋,修改為: ServerName?[你的IP]:80 :wq
16、啟動apache
/usr/local/apache2/bin/apachectl?start #?或者 /usr/local/apache2//bin/httpd?-k?start
關閉防火墻,在瀏覽器地址欄中輸入服務器的ip就會出現網頁:It works!?
17、關閉apache
ps?-ef|grep?apache /usr/local/apache2/bin/apachectl?stop #?或者 /usr/local/apache2//bin/httpd?-k?stop #?沒錯,bin前面就是//
這種原文件安裝的方式太過復雜,其實安裝apache服務還有另一種方式,不知道跟我前面這種安裝有沒有沖突,今天也一并試一試。
yum源安裝方式
1、yum源安裝(需要聯網下載)
首先關閉apache服務 yum?install?httpd?#?中間過程中輸入:y
Result:
作為依賴被安裝:
??apr.x86_64?0:1.4.8-3.el7_4.1?????? ??apr-util.x86_64?0:1.5.2-6.el7???????? ??httpd-tools.x86_64?0:2.4.6-67.el7.centos.6?????? ??mailcap.noarch?0:2.1.41-2.el7???????? 完畢!
2、yum的安裝位置在:/etc/httpd/conf,我進入后備份配置文件先,修改的地方跟之前不一樣,在95行,僅供參考
cd?/etc/httpd/conf cp?httpd.conf?httpd.conf.bak #?放掉95行的注釋,修改為: ServerName?[你的IP]:80 :wq
3、啟動服務
systemctl?start?httpd.service
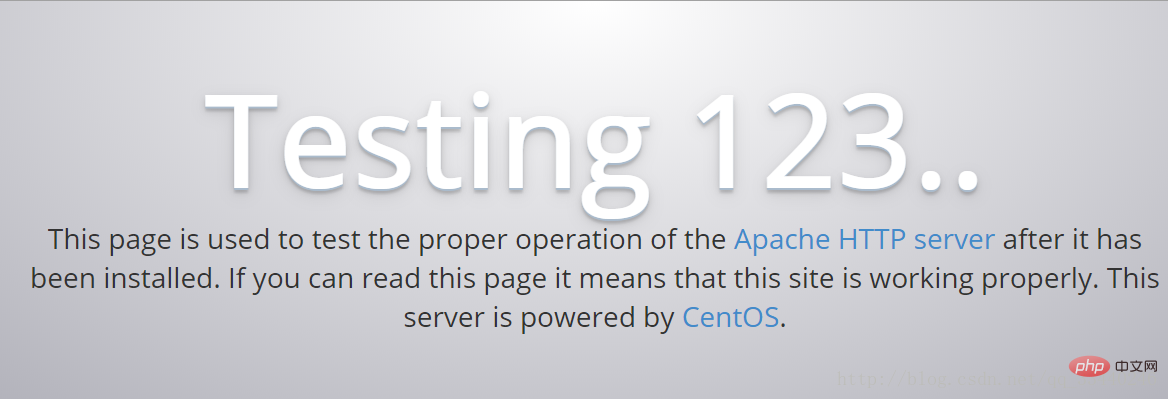
在瀏覽器輸入ip,出現apache預置的html,完美!!!?
 4、關閉服務
systemctl?stop?httpd.service
5、我再次去啟動第一種方式安裝的httpd
/usr/local/apache2/bin/apachectl?start
刷新瀏覽器赫然出現:It works!,說明兩種安裝方式沒有沖突哈。?
更多Apache的相關技術文章,請訪問Apache教程欄目進行學習!


